Replacing a Piece of Hardie Plank Siding
Replacing a piece of Hardie Plank siding might seem daunting, but it’s a manageable DIY project it’s a manageable DIY project with the right tools and a little know-how. This guide walks you through each step, from identifying the damage to the final caulking, ensuring a professional-looking repair that protects your home. We’ll cover everything from selecting the correct materials to troubleshooting common problems, making this home improvement project less intimidating and more achievable.
We’ll explore the process of assessing the damage, gathering the necessary tools and materials, safely removing the old siding, preparing the area for the new piece, and installing and finishing the new siding. We’ll also cover important details like choosing the right type of Hardie Plank and ensuring a weathertight seal. Get ready to tackle that damaged siding!
Identifying the Damaged Section
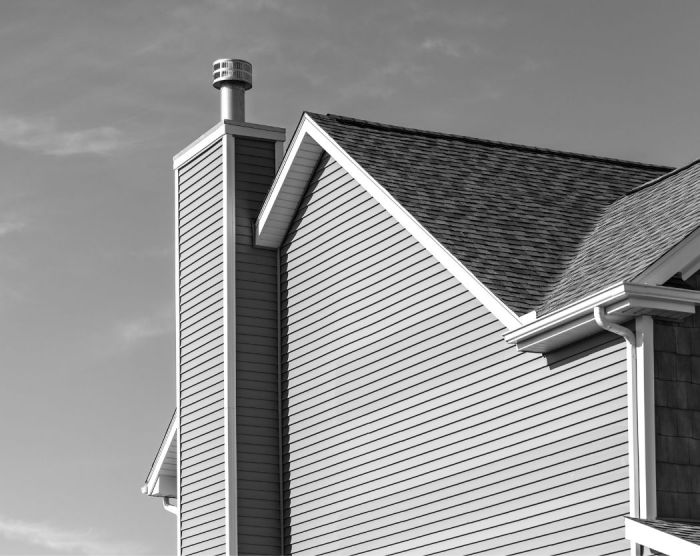
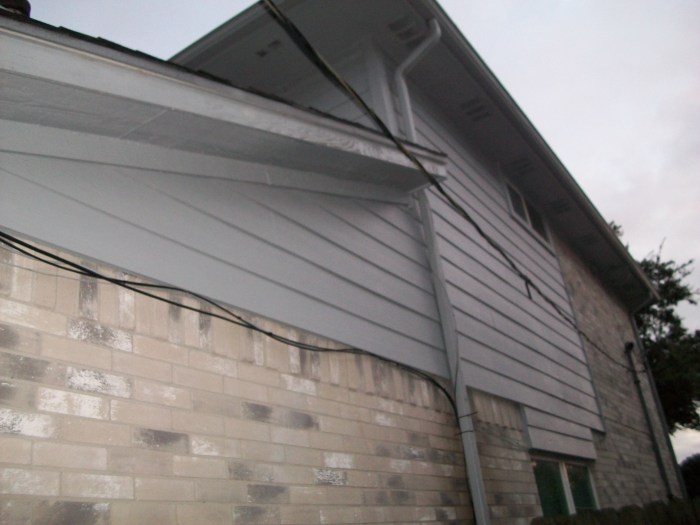
Source: gambrick.com
Replacing Hardie Plank siding is a straightforward process once you’ve pinpointed the damaged area. Knowing what to look for and accurately assessing the extent of the problem will ensure you purchase the correct amount of replacement material and complete the repair efficiently.
Identifying damaged Hardie Plank siding involves a careful visual inspection. Look for obvious signs of damage, such as cracks, holes, or areas where the paint is peeling or blistering excessively. These are clear indicators that the siding needs attention. Less obvious signs might include discoloration, water staining, or soft spots that indicate potential rot beneath the surface. Remember to check all sides of each plank, including the edges and the areas where they meet.
Inspecting for Damage
Begin your inspection by carefully examining each plank of siding in the area you suspect is damaged. Use your hands to gently probe any suspicious areas; if you detect softness or sponginess, it’s a strong indication of rot. Look closely for hairline cracks, which might be difficult to spot at first glance. These can be more challenging to see, especially on darker-colored siding, so use good lighting. Pay particular attention to areas prone to moisture damage, such as around windows, doors, and ground level. For example, a section of siding near a downspout that consistently gets splashed with water might show signs of rot or water damage long before other areas. A thorough visual inspection is the first and most important step.
Determining the Extent of Damage and Replacement Area
Once you’ve identified damaged areas, it’s crucial to determine the extent of the problem to avoid further issues. If only a small section of a single plank is damaged, you may only need to replace that portion. However, if the damage is more extensive, or if you suspect underlying structural issues, you may need to replace several planks to ensure a long-lasting and aesthetically pleasing repair. For example, if you find rot extending beyond the visible damage, it’s wise to replace additional planks to prevent the spread of rot and future problems. In cases of significant damage, it might be necessary to consult a professional for a more thorough assessment. Accurate assessment prevents unnecessary material waste and ensures a successful repair.
Gathering Necessary Tools and Materials
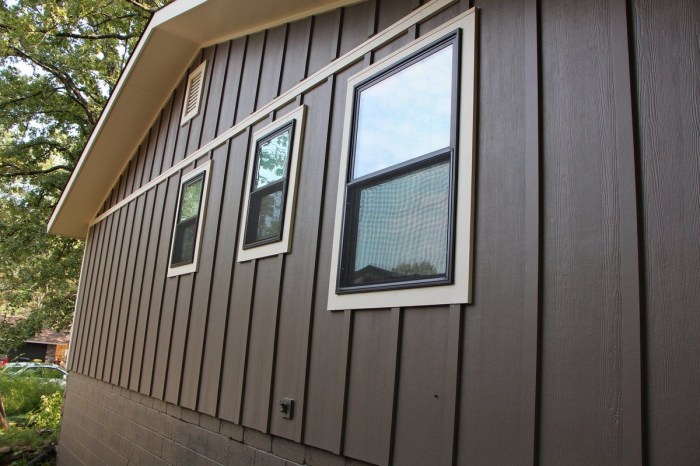
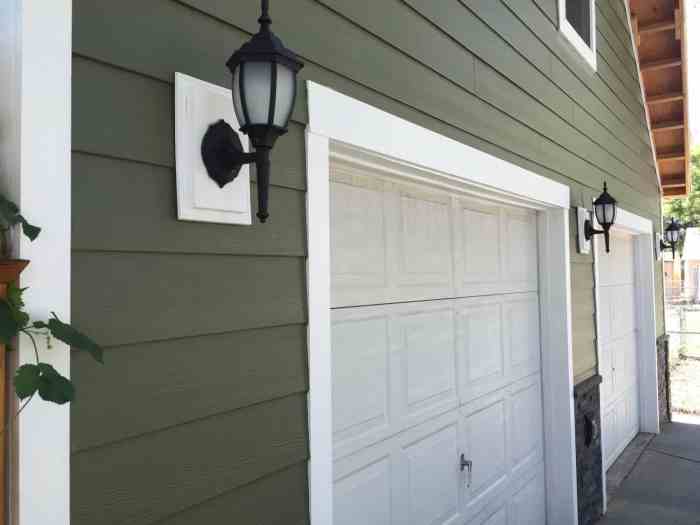
Source: storables.com
Replacing Hardie Plank siding requires the right tools and materials to ensure a clean, professional-looking repair. Having everything prepared beforehand will save you time and frustration during the project. This section details the necessary equipment and materials, including specific types and quantities.
Required Tools
Proper tools are crucial for efficient and safe siding replacement. Using the wrong tools can damage the siding or even cause injury. The following list provides a comprehensive overview.
| Tool | Function | Source | Quantity |
|---|---|---|---|
| Measuring Tape | Accurate measurement of the damaged area and new siding piece. | Hardware store, Home Improvement Center | 1 |
| Utility Knife | Cutting and trimming the siding. | Hardware store, Home Improvement Center | 1 |
| Pry Bar | Carefully remove the damaged siding section. | Hardware store, Home Improvement Center | 1 |
| Hammer | Driving in nails or removing nails. | Hardware store, Home Improvement Center | 1 |
| Drill with an appropriate drill bit | Pre-drilling holes for new fasteners. | Hardware store, Home Improvement Center | 1 |
| Safety Glasses | Protecting your eyes from flying debris. | Hardware store, Home Improvement Center | 1 |
| Work Gloves | Protecting your hands from cuts and splinters. | Hardware store, Home Improvement Center | 1 pair |
| Caulk Gun | Applying sealant around the edges of the new siding. | Hardware store, Home Improvement Center | 1 |
| Putty Knife | Removing old caulk and smoothing out sealant. | Hardware store, Home Improvement Center | 1 |
Hardie Plank Siding and Fasteners, Replacing a piece of Hardie plank siding
Choosing the right Hardie Plank siding and fasteners is essential for lasting repair. Consider factors like color, texture, and the type of fasteners to ensure compatibility and a seamless blend with the existing siding.
Hardie Plank siding comes in a variety of colors and textures to match existing installations. Common textures include smooth, cedar, and stucco. Color matching is crucial; refer to the manufacturer’s color chart or bring a sample of the existing siding to the store for accurate matching. The thickness of the replacement piece should match the existing siding.
For fasteners, galvanized nails or screws are recommended for their durability and resistance to corrosion. The length of the fasteners should be appropriate for the thickness of the siding and the underlying sheathing. Using too short fasteners can lead to weak attachment, while overly long fasteners can penetrate too deeply, potentially damaging underlying components. Stainless steel fasteners offer even greater corrosion resistance, particularly in coastal environments or areas with high humidity.
Removing the Damaged Siding
Carefully removing the damaged Hardie Plank siding is crucial to avoid further damage to your home’s exterior. The process requires a steady hand and the right tools to minimize risk and ensure a clean cut. Remember to always prioritize safety and wear appropriate protective gear like safety glasses and gloves.
Removing the damaged Hardie Plank involves a combination of careful prying and nail/screw removal. Start by assessing the edges of the damaged piece to determine the best approach for removal. You’ll want to work systematically to avoid causing damage to adjacent pieces.
Nail and Screw Removal Techniques
Different techniques are needed depending on the type of fasteners used. For nails, a pry bar and hammer can be effectively used. For screws, a screwdriver is usually the best approach. However, sometimes stubborn fasteners require additional care.
- For nails, gently insert the pry bar’s blade between the siding and the underlying framing. Work the pry bar slowly and carefully to loosen the nail heads, taking care not to scratch or dent adjacent siding. Once loosened, use the hammer to tap the nail heads further out, allowing for easy removal with the pry bar or nail puller. If the nail is particularly stubborn, consider using penetrating oil to loosen it before attempting removal.
- For screws, use a screwdriver that fits the screw head snugly. Apply steady pressure while turning the screw counterclockwise. If the screw head is damaged or stripped, use a screw extractor to remove it. This tool grips the damaged screw and allows for controlled removal.
Safe Disposal of Removed Siding
Proper disposal of the removed siding is essential. Hardie Plank siding, while durable, is still a construction material and should be disposed of responsibly.
Avoid simply throwing the removed piece in the trash. Check with your local waste management facility for guidelines on disposing of construction materials. Many areas have designated recycling centers for construction debris, which is environmentally preferable. Alternatively, you might be able to repurpose the undamaged portions of the removed siding for smaller projects around your home or garden. Always ensure that any sharp edges or protruding nails are safely secured or removed before disposal.
Preparing the Area for New Siding
Before installing your new Hardie Plank siding piece, it’s crucial to ensure the underlying structure is sound and level. A poorly prepared surface will lead to future problems, including gaps, unevenness, and potential water damage. Taking the time to properly prepare the area will result in a much more professional and long-lasting repair.
Inspecting the area surrounding the removed siding piece is the first step. You need to check both the sheathing (the material directly under the siding) and the framing (the wooden structure supporting the sheathing). Look for any rot, damage, or loose areas. Addressing these issues now prevents problems later.
Sheathing and Framing Repair
If you find any rotted or damaged sheathing, it must be replaced. This usually involves cutting out the affected section with a reciprocating saw or similar tool, ensuring you remove all compromised material. Then, fit a new piece of sheathing, making sure it’s flush with the surrounding area and securely fastened with appropriate nails or screws. For framing issues, such as rotted or damaged studs, the repair process is more involved and may require replacing the entire stud. This will require more advanced carpentry skills and might involve cutting the existing stud, installing a new one, and properly securing it to the existing structure. Always ensure the new piece of sheathing or framing is properly secured to maintain structural integrity. Using construction adhesive in addition to fasteners will add further strength and water resistance.
Ensuring a Level and Secure Surface
Once the sheathing and framing are repaired, it’s time to ensure a perfectly level and secure surface for the new siding. Use a level to check the surrounding area; any significant discrepancies will need to be addressed before installing the new piece. Minor inconsistencies can often be addressed with shims (thin pieces of wood) placed between the sheathing and the new siding piece. For larger inconsistencies, more significant repairs to the underlying structure might be necessary. Remember, a secure and level surface is paramount for a successful and long-lasting repair. A poorly fitted piece of siding can lead to issues like cracking, gaps, and water infiltration.
Installing the New Hardie Plank Siding
Now that the area is prepped, it’s time to install the new Hardie Plank siding. This process requires careful measurement, precise cutting, and secure fastening to ensure a long-lasting, weathertight repair. Remember to always wear appropriate safety gear, including gloves and eye protection.
Begin by carefully positioning the new siding piece against the surrounding undamaged siding. Make sure it’s flush with the adjacent pieces and aligns correctly with the existing seams. Take your time; a precise fit is crucial for a professional-looking and weatherproof repair.
Siding Alignment and Cutting
Accurate measurement and cutting are essential for a seamless fit. Use a measuring tape to determine the precise dimensions needed. If the replacement piece needs to be cut, use a sharp utility knife or circular saw with a fine-tooth blade designed for Hardie Plank. Always score the material first to prevent chipping, then snap along the score line. For intricate cuts, a jigsaw might be necessary. Remember to wear a dust mask when cutting Hardie Plank to minimize inhaling the fine particles.
Securing the New Siding
Once the new siding piece is perfectly aligned, it’s time to fasten it securely. Use galvanized nails or screws specifically designed for Hardie Plank. These fasteners are corrosion-resistant and provide superior holding power. The nails or screws should be driven in at an angle, slightly upward, to prevent water from seeping behind the siding. Avoid overdriving the fasteners, which can damage the siding and compromise its integrity. Space the fasteners evenly according to the manufacturer’s recommendations; typically, this involves several fasteners along each stud. A nail gun can speed up the process, but care must be taken to avoid driving the fasteners too deeply.
Sealing the Joints
After installing the new siding, inspect all joints and seams. Apply a high-quality exterior-grade caulk to seal any gaps or cracks. This will prevent moisture penetration and further protect your home. Choose a caulk that is compatible with Hardie Plank and the local climate conditions.
Final Inspection
Once the caulk has dried, conduct a final inspection of your work. Check for any gaps, misalignments, or loose fasteners. Make any necessary adjustments to ensure a watertight and aesthetically pleasing repair.
Caulking and Finishing
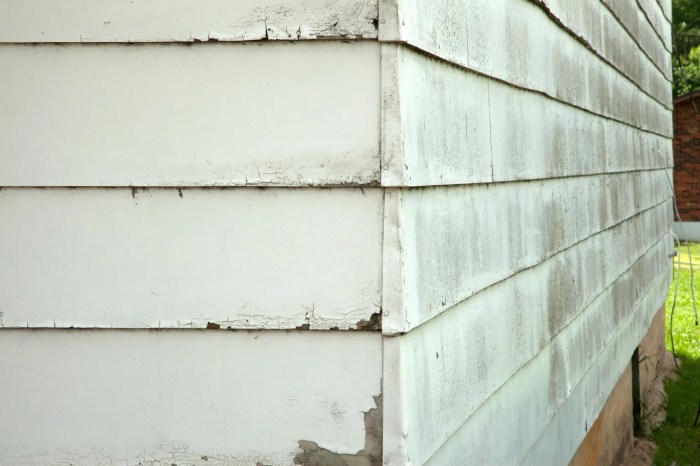
Source: jdhostetter.com
Replacing a piece of Hardie plank siding isn’t complete until you’ve sealed the gaps and finished the new siding to blend seamlessly with the existing exterior. Proper caulking prevents water damage, and a good paint or stain job ensures a professional-looking repair.
Applying caulk correctly is crucial for long-term protection. You want to create a waterproof barrier that prevents moisture from seeping behind the siding and causing rot or mold. This involves using a high-quality exterior-grade caulk, specifically designed for use with fiber cement siding like Hardie Plank.
Caulk Application Techniques
Before applying caulk, ensure the area is clean and dry. Use a suitable caulk gun to apply a continuous bead of caulk along all seams and gaps between the new siding and the existing siding, as well as where the new siding meets other building materials like trim or window frames. The bead should be smooth and even, and you should tool it immediately with a wet finger or a caulking tool to create a smooth, weather-resistant finish. Avoid creating overly thick beads of caulk as this can cause cracking. A thin, even bead is ideal. Remember to remove any excess caulk immediately before it dries.
Matching Paint or Stain
Matching the paint or stain to the existing siding is essential for a seamless repair. If the existing siding is painted, try to obtain a sample of the existing paint to match. Most paint stores can match a color using a spectrophotometer. If the existing siding is stained, you’ll need to find a stain that closely matches the existing color and finish. Consider using a small test area to check for color consistency before applying it to the entire section. For a larger area, it’s best to re-stain a larger section to ensure the new stain blends seamlessly with the old. This helps avoid noticeable color differences.
Cleaning Up
Cleaning up after the installation is just as important as the installation itself. Remove any debris, such as scraps of siding, nails, and caulk tubes, from the work area. Dispose of waste materials responsibly, following local regulations. Use a stiff brush or a pressure washer (low pressure to avoid damage) to remove any remaining caulk, paint, or stain from the siding and surrounding areas. Wipe down surfaces with a damp cloth to remove any dust or debris. Proper cleanup ensures a clean and professional-looking finish to your repair job.
Troubleshooting Common Issues
Replacing Hardie plank siding can be straightforward, but unexpected problems can arise. Knowing how to identify and fix these issues will save you time, frustration, and potentially costly mistakes. This section covers common problems and their solutions, helping you achieve a professional-looking repair.
Misaligned Siding
Improper alignment is a frequent issue. Even a slight misalignment can be visually distracting and compromise the overall look of your siding. This often happens due to inconsistent spacing between planks or improper nailing.
- Problem: Gaps between planks are uneven, creating an unprofessional appearance.
- Solution: Carefully measure and mark the spacing between planks before nailing. Use spacers to maintain consistent gaps. If misalignment occurs after nailing, gently pry the plank loose, adjust the spacing, and re-nail.
- Problem: A plank is noticeably higher or lower than adjacent pieces.
- Solution: This often points to uneven sheathing underneath. Check the underlying structure for inconsistencies and address them before reinstalling the siding. If the issue is minor, shims can be used to level the plank.
Fastener Issues
Using the wrong fasteners or improper nailing techniques can lead to problems. Over-driving nails can cause cracking, while under-driving can lead to loose siding.
- Problem: Nails are driven too deep, causing cracks in the siding.
- Solution: Use the correct nail size and type recommended by the manufacturer. Avoid overdriving nails; slightly countersink the nails, but do not damage the siding. If cracks occur, carefully fill them with paintable caulk.
- Problem: Nails are not driven deep enough, resulting in loose siding.
- Solution: Remove the loose siding. Drive in the nails to the correct depth, ensuring a secure fit. Use additional fasteners if necessary, following the manufacturer’s instructions.
Cutting and Fitting Issues
Accurate cutting is crucial for a seamless finish. Improper cuts can lead to gaps or overlaps, affecting both the aesthetics and the weatherproofing of the siding.
- Problem: The cut edge of the siding is uneven or inaccurate, leading to gaps.
- Solution: Use a sharp utility knife or circular saw with a fine-tooth blade for precise cuts. Measure twice and cut once. For intricate cuts, consider using a jigsaw for better control.
- Problem: Siding pieces don’t fit together properly, leaving significant gaps.
- Solution: Double-check measurements and ensure that all cuts are accurate. If necessary, trim the pieces slightly to achieve a better fit. For larger gaps, use paintable caulk to seal the seams.
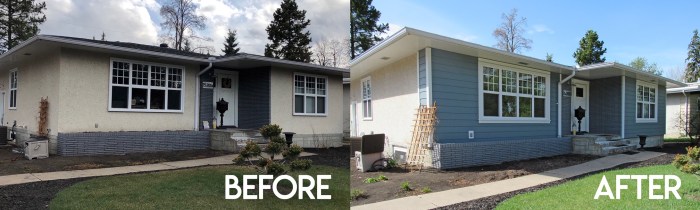
Illustrative Examples: Replacing A Piece Of Hardie Plank Siding
Let’s look at a couple of scenarios to illustrate how to replace Hardie Plank siding, ranging from minor repairs to more substantial storm damage. Understanding these examples will help you assess your situation and plan your repair accordingly.
Significant Storm Damage
Imagine a severe thunderstorm has damaged a large section of your home’s siding. A 10-foot-wide section, spanning from the roofline to the ground (approximately 8 feet high), has been ripped away by high winds. The damaged area includes three vertical Hardie Plank panels, each measuring 12 inches wide. The underlying sheathing is also compromised in places, requiring replacement. You’ll need to replace the three damaged Hardie Plank panels (36 square feet total), and potentially some sheathing material. You’ll also need replacement nails, exterior-grade wood, and appropriate caulking. The existing color is a deep gray, so matching paint will also be required if the damage affects the painted surface.
Minor Damage
Now, let’s consider a smaller repair. A small section of Hardie Plank siding, approximately 12 inches by 6 inches, has been damaged by a wayward baseball. The damage is limited to a single panel, and the underlying sheathing is intact. For this repair, you will need one replacement Hardie Plank panel (1 square foot), matching exterior-grade caulk, and appropriate nails. If the paint is chipped, you might need touch-up paint as well.
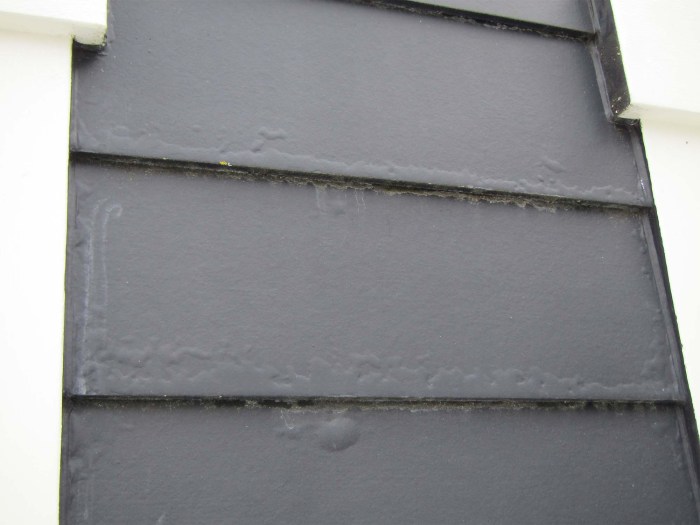
Properly Installed Hardie Plank Section
Imagine a close-up view of a newly installed Hardie Plank section. The panel sits flush against the underlying sheathing, its edges perfectly aligned with the surrounding siding. Eight evenly spaced galvanized nails, slightly countersunk, secure the panel to the sheathing. The nails are positioned approximately 1 inch from the panel’s edges and about 1 inch from the top and bottom. A thin, neat bead of exterior-grade caulk is visible along the top and side edges of the panel, creating a weather-tight seal. The caulk is smoothly applied, filling the gaps between the panel and the adjacent siding without being messy or excessive. The paint on the Hardie Plank is even and unblemished, matching the surrounding siding perfectly. The entire installation looks professional, clean, and structurally sound.
Conclusive Thoughts

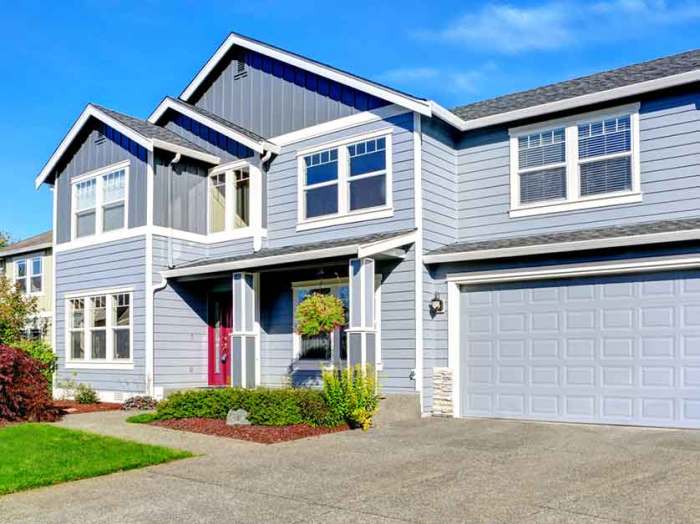
Source: b12.io
Replacing a piece of Hardie Plank siding is a rewarding project that significantly improves your home’s curb appeal and protects it from the elements. By following the steps Artikel in this guide, you can confidently handle this repair, saving money and gaining valuable DIY experience. Remember to always prioritize safety and take your time – a little patience goes a long way in achieving a professional-looking result. So grab your tools, and let’s get started!
Essential FAQs
Can I use regular wood screws instead of Hardie PPlank-specific fasteners?
No. Hardie Plank fasteners are designed for the specific material and provide superior holding power and corrosion resistance. Using standard wood screws can lead to failure and future problems.
How do I match the color of the replacement siding to my existing siding?
Take a sample of your existing siding to a home improvement store to get a precise color match. They can often mix paint to match, or you might find a close match in their pre-mixed options.
What if I accidentally damage the underlying sheathing during removal?
Repair any damage to the sheathing before installing the new siding. Use appropriate patching materials and ensure it’s securely fastened and leveled before proceeding.
How long does the caulk need to dry before painting?
Follow the manufacturer’s instructions on the caulk packaging for drying time. Generally, it’s best to allow at least 24 hours before painting.
What type of saw is best for cutting Hardie Plank?
A circular saw with a fine-toothed blade designed for cutting fiber cement is recommended. Always wear appropriate safety gear when using power tools.